LookDeep Health
Ever Present for Every Patient
VisionAI powering an inpatient telemedicine platform.
LookDeep’s VisionAI includes the hardware, software and AI needed to transform inpatient telemedicine into an infinitely scalable sensor observing the patient and their care. See How We Compare.


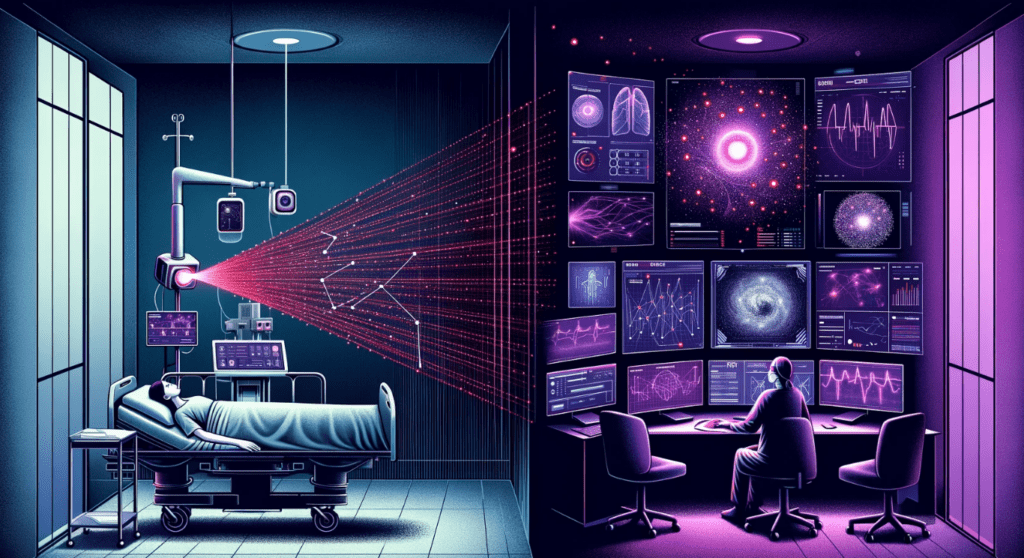
Our technology does not just see patients, it watches them. Your doctors and nurses are superheros, but even superheroes can’t be everywhere at once. LookDeep’s VisionAI enables a Virtual RN to seemingly be everywhere at once – picking up patterns in patient behavior and ready to nudge a clinician if something seems off. And with seamless video integration, a doctor, or nurse can virtually visit that patient in any room at any time.
With tens of thousands of hours of inpatient video, LookDeep has developed an ever-improving and expanding set of AI capabilities designed to enhance patient safety, clinical productivity, documentation, and eventually, FDA-approved clinical assessments.
Most approaches to virtual medicine are slowed down by the cost of integrating cameras. Costs often exceed $20,000 per room and the expense is mostly incurred before you’ve seen a single patient.
LookDeep created a pioneering zero-cost hardware model that eliminates the financial barriers associated with inpatient video monitoring. Our hardware device includes two cameras, night vision and robust audio. In addition, it can plug into existing in room audio, televisions and additional higher performance cameras. It can be deployed on a shelf, cart, or attached to the in room television.


We use Cookies to offer you a better browsing experience, analyze site traffic, personalize content, and serve targeted advertisements. By continuing to browse LookDeep.health you will consent to our use of cookies.